
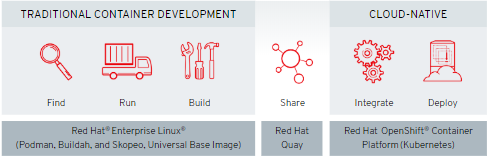
With the release of the RHEL 8, there is a new set of container tools which allow users to find, run, build, and share containers are introduced. And are compliant with the same Open Containers Initiative (OCI) standards. It is investing in CRI-O and podman participating in the Open Containers Initiative standards and discouraging the need of docker as container engine.
[Image courtesy RedHat]
They are simply provided by RHEL image and installed using dnf or yum:
# yum install container-* buildah podman skopeo

KEY COMPONENT
CRI-O: is meant to provide an integration path between OCI conformant runtimes and the kubelet. Specifically, it implements the Kubelet Container Runtime Interface (CRI) using OCI conformant runtimes.
BUILDAH: It allows to build containers either from existing container or from scratch or from a DockerFile. The images are all compatible with other container Engines and can be accessed from any container repositories.
PODMAN: It has complete tool set for management of containers and container image.
SKOPEO: With skopeo, we can work with container images from registries without using the docker daemon or the docker command.
WHY BUILDAH OVER DOCKER ?
There are major reasons for choosing buildah, even if you are old docker user:
- Daemonless so no container environment is required for functionality.
- Flexibity: The major enhancement over docker, where users are forced to pick a base image to start, rather than building their own.
- Reduced size of image as no external build tools required for image creation.
IMAGE CREATION USING BUILDAH
Instead of starting with a base image, you can create a new container that holds no content and only a small amount of container metadata. To create a balnk image with no content use below:
# buildah from scratch

Now in order to use this empty image, mount it over the system and inserting necessary components.
# scratchmnt=$(buildah mount working-container)
This above command has created an overlay file-system, for entering into our scratch image.
# echo $scratchmnt

Now to use it, initialize a rpm database and the necessary release information to deploy correct packages.
# yum install -y --releasever=8 --installroot=$scratchmnt redhat-release

Now setting up repositories and their cache along with installing required images
# yum install -y --setopt=reposdir=/etc/yum.repos.d --installroot=$scratchmnt --setopt=cachedir=/var/cache/dnf httpd systemd

One can explore the image structure to see if necessary changes done

Now updating image index.html with some customized content.
# echo "Your httpd container from scratch worked." > $scratchmnt/var/www/html/index.html

Setting up few buildah configs and packing the images (WITH INTENTIONAL ERRORS)
# buildah config --cmd "systemctl start httpd" working-container
# buildah config --port 80/tcp working-container
# time buildah commit working-container localhost/myfirstcontainer:v1
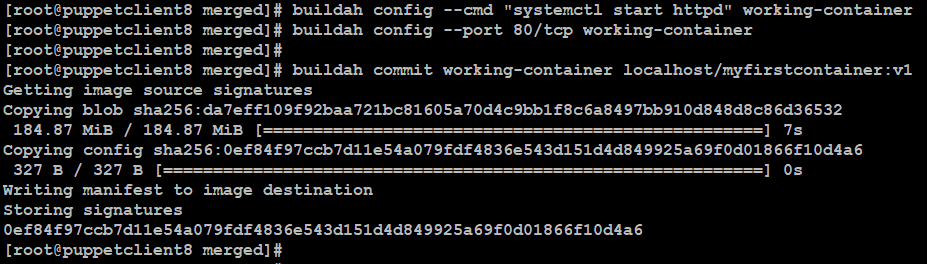
Checking newly created image
# buildah images -a

EXPLORING PODMAN FOR CONTAINER MANAGEMENT
We can also check container images with podman command as well
# podman images

# podman run -p 8080:80 -d --name my-httpd-server localhost/myfirstcontainer:v1

Analyzing the logs if container ran successful

FIXING ISSUES WITH existing image
# scratchmnt=$(buildah mount working-container)
# buildah config --cmd "systemctl stop httpd" working-container
# buildah config --cmd "/usr/sbin/httpd -DFOREGROUND" working-container
# buildah commit working-container localhost/myfirstcontainer:v2

Viewing newly visible image and Creating container with new image

# podman run -p 8080:80 -d --name my-httpd-server localhost/myfirstcontainer:v2
Testing containers
# curl localhost:8080

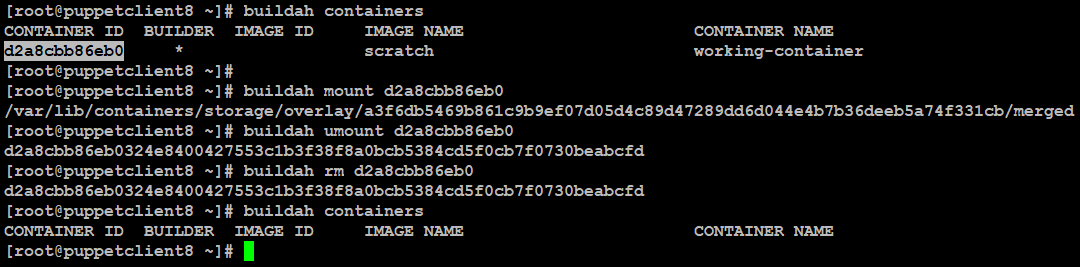
Removing containers using Buildah
# buildah containers
# buildah mount
# buildah umount 9f1e702f9593
# buildah rm 9f1e702f9593
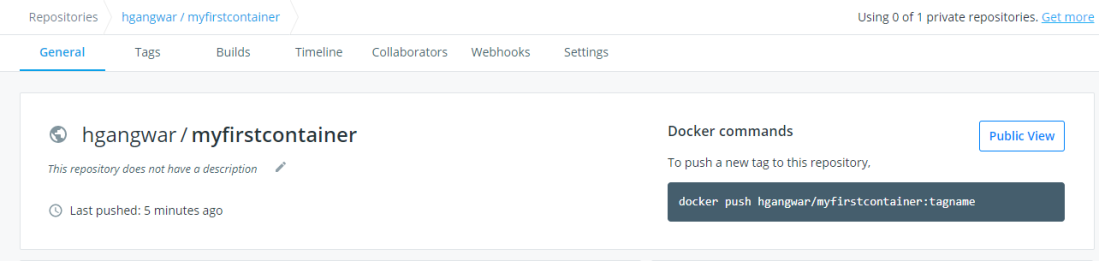
Tag the image to appropriate repo name
# buildah tag localhost/myfirstcontainer:v2 docker.io/hgangwar/myfirstcontainer:v2

# buildah push --creds <username>:<Password> docker.io/hgangwar/myfirstcontainer:v2 docker://hgangwar/myfirstcontainer:v2

Your new image is available on docker hub for use, modify and share 🙂
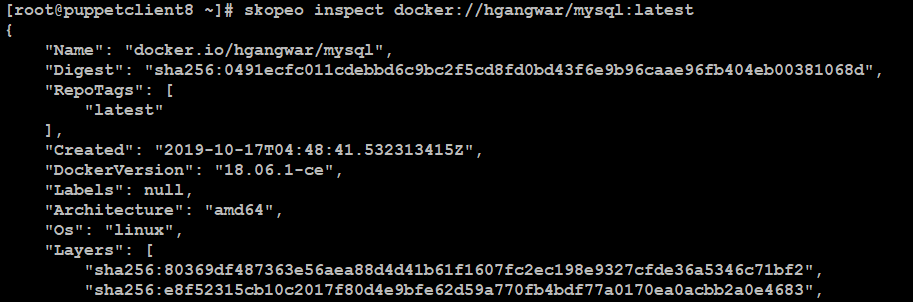
INSPECTING CONTAINER IMAGE WITH SKOPEO
To inspect using skopeo we need below information:
- Location of registry
- Container format
- repository/image
# skopeo inspect docker://hgangwar/mysql:latest
Below is the video link for some of the activities we performed above:
– Image creation & Container Management using Buildah & Podman

Nice !!!!
LikeLike
One of its type unique content
LikeLike